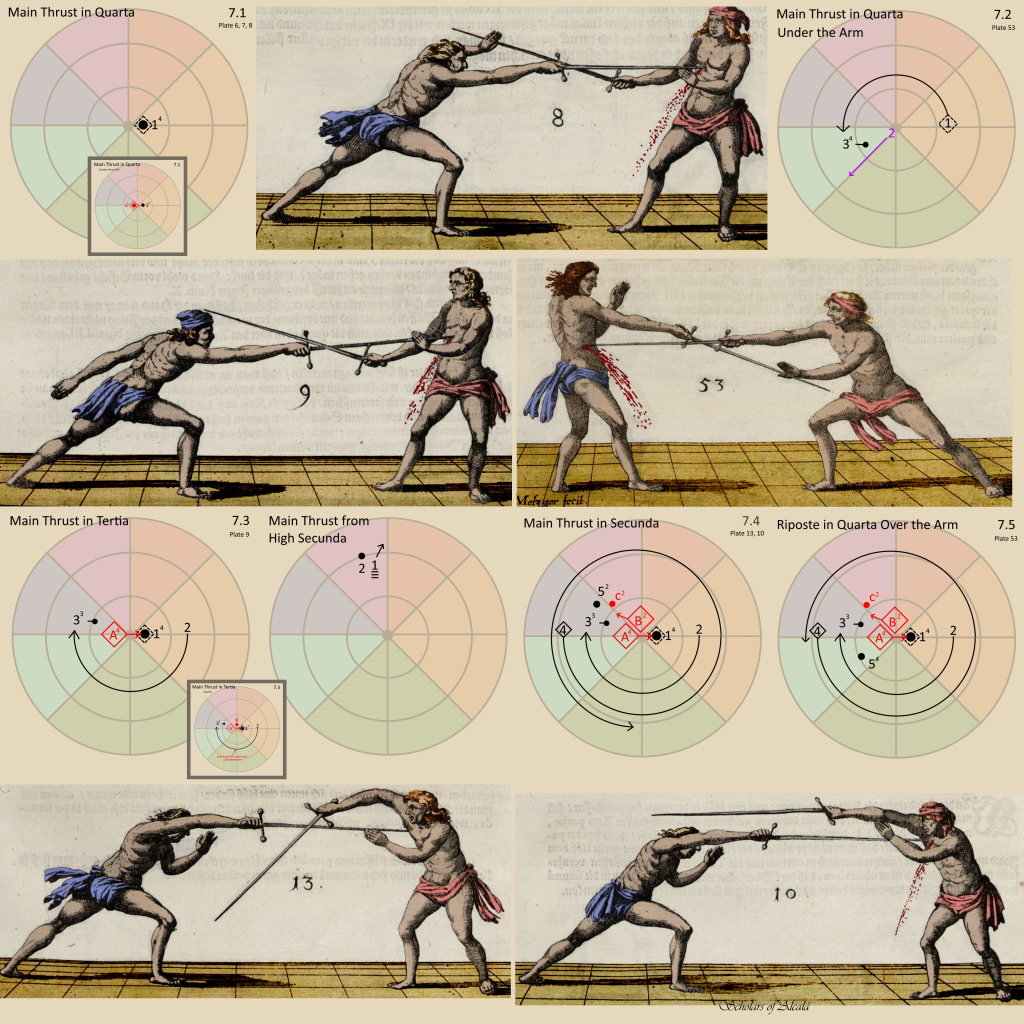
We’ve found that we really need to call out the constraints, especially in the early plays where students are just learning the exercise. Also, having a way to distinguish between a thrust in opposition from a free thrust is important in some plays.
Therefore, we’re making the following changes to the diagrams.
- Free thrusts are still a dot, optionally with a line indicating what angle they arise from
- Constraints are represented by a diamond around it with a dashed border.
- If the thrust arose from a constraint, the dot with have a diamond around it with a dashed border.
- If the action is a counter-thrust (i.e. simultaneous parry & thrust), then the diamond will have a solid border.
- If the action is a simply parry, then the diamond will still have a number inside it. (The riposte will be a separate dot by itself.)
- Key plate numbers are now in the upper-right, below the chapter & paragraph number.
- Counters are shown in an inset. (Unless the counter appears in a different chapter.)
You can see examples of this in the updated poster.

Original post: https://scholarsofalcala.org/understanding-rapier-diagrams/
In related news, we just did a lot of editing to our L’Ange rapier drill book, including a significant rewrite of chapter 7. With our longsword book complete, this is going to be the main focus of our efforts with more regular updates.